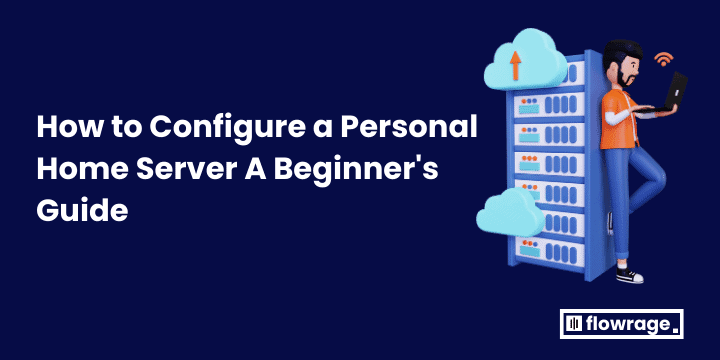
Home servers can be an excellent way to consolidate data, host media servers or host websites – but their setup process can seem intimidating at first. In this blog post, we’ll walk through each step step-by-step so that even tech novices can begin.
With our step-by-step instructions, you will discover how to select the appropriate hardware and set up your home server with necessary software. We will also offer guidance on securing and backing up regularly – whether your goal is enhancing home network capabilities or exploring self-hosting, this blog post offers all the knowledge needed for creating your server with confidence.
What you’ll need for home server configuration
- Hardware: Your server computer should either be purchased specifically for this task or made up from two existing PCs you’re no longer using. Make sure that any outdated computer you utilize has enough RAM and storage. SATA cables and network adapters may also be needed.
- Operational System: Your home server can run multiple operating systems; we suggest FreeNAS or Ubuntu Server as server-specific operating systems that are both free and open-source.
- External Storage: Solid-state drives (SSDs), hard drives or combinations thereof may be used as external data storage solutions. SSDs cost more money and offer faster data transfer rates; when selecting between SSDs and hard drives it depends upon both budget and performance needs; SSDs tend to offer quicker file access rates while hard drives provide larger capacities at more reasonable costs, making both suitable for large amounts of information storage needs; for those looking for the optimal balance of speed and capacity selecting both would likely provide optimal results.
Also Read: Mail Transfer Agents (MTA) The Guide to Understand Mail Transfer Agents
Steps to Setup a Home Server Properly
- Step 1: Install the operating system on your server.

Start by installing Ubuntu Server onto your server, downloading its ISO image from its official website before burning it onto a CD or DVD and booting up from this CD/DVD – follow any onscreen instructions as necessary!
- Step 2: Configure your network settings.

Once your operating system has been installed, it is time to configure its network settings. This involves assigning your server an IP address as well as configuring its subnet mask and gateway – you should find all this information in your router’s documentation.
- Step 3: Install server software.

Now is the time to install any server software you desire – from media server software such as Plex or Kodi to webserver programs such as Apache or Nginx.
- Step 4: Set up user accounts.
You’ll need to create user accounts for anyone accessing your server. This will help to keep your data secure.
- Step 5: Back up your data.
It’s essential to back up your data before using your home server. This is because there’s always a chance that something could go wrong, and you could lose your data.
Important Points To Note
- Begin Small Don’t take on too much when setting up your home server initially; focus instead on setting up the basics first before expanding with extra features later
- Be Patient it may take longer than expected for you to set up your server successfully; remain persistent even if things don’t appear to work immediately.
- Feel free to seek assistance from online resources or forums when setting up your home server, as it will give you much greater control of your data while giving you opportunities you might otherwise miss.
Additional tips
- Rather than getting bogged down with hardware, for those unfamiliar with working with it it may be best to purchase an already assembled home server. Although more costly, these pre-built home servers make set-up easier.
- Be sure to locate it somewhere with good air circulation since servers tend to get hot quickly. Keeping an eye out for moisture issues also is recommended in ensuring maximum health during operations.
- Consider purchasing an uninterruptible power supply (UPS) to safeguard against power outages that might cripple your server.